
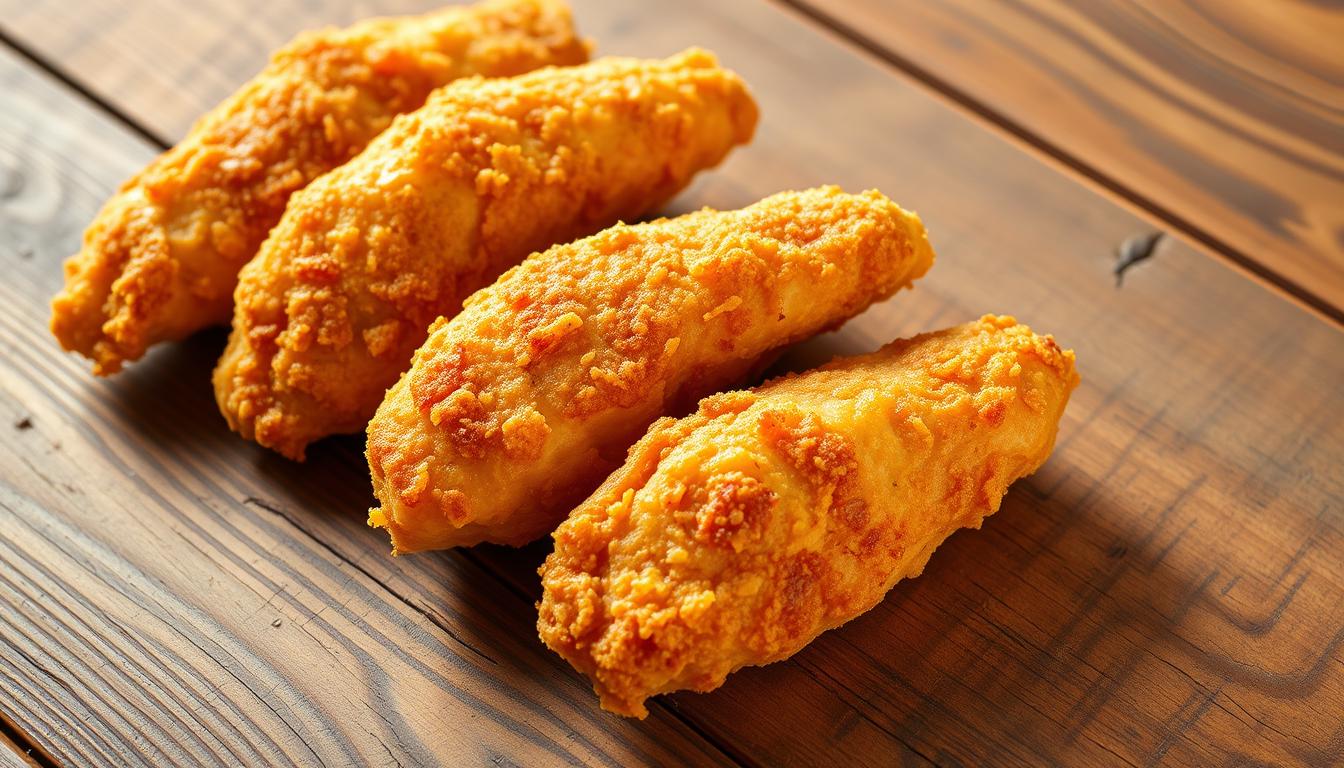
Imagine creating crispy chicken tenders that taste just like your favorite restaurant version — all with only four basic pantry staples. This simple approach skips complicated steps and focuses on pure flavor and crunch.
You can achieve that perfect golden-brown coating using ingredients you probably already have at home. The method highlights the essentials that make crispy chicken tenders so irresistible — juicy inside, perfectly crunchy outside.
This complete guide walks you through every step, from proper breading to the ideal frying temperature. You’ll discover the key techniques that separate soggy breading from that signature crispy texture everyone loves.
With practice and attention to detail, you’ll gain the confidence to make crispy chicken tenders that rival any fast-food favorite. We’ll also share serving ideas and storage tips so you can enjoy this classic comfort food anytime.
Overview of the 4-Ingredient Recipe
Achieving that perfect crust on your protein pieces requires only a handful of basic ingredients. This tried recipe simplifies the process while delivering outstanding results.
Introduction to the Simple Ingredients
You need just four core components for this approach. These items are likely already in your kitchen pantry.
The foundation is 1-2 pounds of poultry strips. This amount serves approximately five people. All-purpose flour forms the coating base. It gets seasoned with salt and pepper.
An egg wash acts as the binding agent. It helps the flour stick properly. Vegetable oil completes the set for frying.
| Ingredient | Quantity | Purpose |
|---|---|---|
| Poultry Strips | 1-2 pounds | Protein base |
| All-Purpose Flour | 1½ cups | Coating foundation |
| Egg Wash | 1 egg + 2 tbsp water | Binding agent |
| Vegetable Oil | As needed | Frying medium |
Why This Recipe Stands Out
The prep time is minimal at around 15 minutes. Total cooking time reaches about 55 minutes. This makes it perfect for busy weeknights.
What truly sets this method apart is the double-dredging technique. You coat the pieces in flour, then egg, then flour again. This creates an exceptional texture.
Unlike complex versions, this approach skips buttermilk soaking. It delivers excellent results with straightforward steps. The simplicity makes it accessible to all skill levels.
Crispy Chicken Tenders: Key Techniques & Ingredients
The secret to exceptional texture lies in understanding how each component interacts during preparation. Mastering these elements ensures your final dish delivers both flavor and perfect crunch.

Understanding the Importance of Seasoning
Proper seasoning forms the foundation of flavorful results. Your flour mixture must be well-seasoned to avoid bland breading. For confident measurement, use ¾ teaspoon salt and ½ teaspoon black pepper per 1½ cups of flour.
The salt and pepper combination enhances the overall eating experience. It balances flavors throughout each bite. Some variations include paprika, garlic powder, and onion powder for extra depth.
The Role of Egg and Flour in Achieving Crunch
Flour creates the crispy coating by absorbing moisture. It forms a crunchy crust when fried. The egg wash acts as an adhesive layer that helps the flour stick properly.
Use the double-dredging technique for extra crispy texture. Coat your pieces in flour, then egg, then flour again. This creates multiple layers for superior results.
Press the breading firmly onto your pieces. Let them rest for 2-5 minutes before frying. This allows the coating to become slightly gooey, which helps it crisp up better during cooking.
Some recipes incorporate cornstarch into the flour mixture. This creates an even crunchier coating resembling restaurant-style fried chicken. The combination delivers outstanding texture in every bite.
Preparing Your Ingredients and Equipment
Proper preparation of your ingredients and workspace sets the foundation for successful cooking results. This stage ensures everything flows smoothly when you begin the actual cooking process.
Selecting the Right Chicken and Tools
You can choose between pre-cut pieces or whole chicken breasts for this recipe. Using whole breasts gives you control over strip size and thickness.
Slice the chicken breasts lengthwise into uniform 1-inch strips. This ensures even cooking throughout all pieces.
For equipment, select a heavy-bottomed skillet that maintains consistent heat. Cast iron works exceptionally well for this purpose.
Prepping Your Work Area for Success
Set up two large bowls in an assembly-line fashion. One holds your seasoned flour mixture, while the other contains the egg wash.
Fill your 9-inch skillet with about 2 inches of oil. This depth provides sufficient coverage without wasting excess oil.
Begin heating the oil over medium-high heat as you bread your ingredients. Monitor the temperature closely for optimal results.
An optional buttermilk marinade can enhance tenderness. Soak your pieces for 2 hours to overnight before cooking.
Have a paper towel-lined plate ready before frying. This catches excess oil from your finished pieces.
Step-by-Step Cooking and Frying Process
Success in the final cooking stage depends on precise temperature control and timing. This phase transforms your prepared pieces into golden-brown perfection.
Proper technique ensures that crispy coating stays intact throughout the cooking time. Follow these steps for consistent results every time.

Proper Oil Temperature and Frying Tips
Heat your oil to 365-375°F for optimal frying results. Use a candy thermometer for accuracy. Alternatively, test by dropping a pinch of flour into the hot oil.
If the flour sizzles immediately, your oil is ready. Work in small batches of about five pieces at a time. Overcrowding lowers the oil temperature.
This leads to soggy, greasy results. Adjust your burner between batches to maintain consistent heat. Never walk away during the frying process.
Cook thicker pieces for 8-10 minutes per side. Thinner ones need only 3-4 minutes total. Transfer finished items to a wire rack over a baking sheet.
Perfecting the Dredging and Resting Process
Start by coating your pieces thoroughly in seasoned flour. Shake off any excess before moving to the egg wash. Too much flour creates clumpy breading.
After the egg dip, return to the flour mixture. Press firmly to create an adherent coating. Let the breaded pieces rest for about five minutes.
This resting time helps the coating stick better during frying. It becomes slightly tacky, which improves the final texture. The double-dredge method creates superior results.
Serving, Storage, and Creative Variations
The final touches make your meal complete. This section covers how to serve your creation and keep it tasting great later.
You can elevate your dish with simple additions. Proper storage ensures you enjoy every last bite.
Exploring Dipping Sauces and Accompaniments
A great dipping sauce transforms your meal. It adds a burst of flavor that complements the main dish perfectly.
Try a classic honey mustard for a sweet and tangy option. Mix together 1/3 cup mayonnaise, 2 tablespoons Dijon mustard, and 2 tablespoons honey. Add 1-2 teaspoons of lemon juice with salt and pepper.
For a creamy ranch, combine 1/4 cup each of mayonnaise and sour cream. Add 2 tablespoons milk, 1 teaspoon lemon juice, and seasonings. Use 1/4 teaspoon each of dried parsley, dill, chives, and garlic powder.
A popular Cane’s-style sauce is another fantastic choice. Mix 3/4 cup mayonnaise with 3 tablespoons ketchup. Add 1 tablespoon Worcestershire sauce and seasonings like garlic powder and black pepper.
All sauces can be made ahead. Store them in an airtight container in the fridge for up to three days.
Serve your meal with classic sides like fries or a fresh salad. This creates a balanced and satisfying dinner.
Tips for Storing and Reheating Leftovers
Proper storage keeps your food safe and delicious. Let cooked pieces cool completely before storing.
Place them in an airtight container in the refrigerator. They will stay fresh for three to four days.
For longer storage, use a freezer-safe bag. Remove as much air as possible before sealing. Frozen items can last for up to four months.
The best way to reheat is in your oven. This method helps restore the texture.
Place pieces on a rack over a baking tray. Heat at 390°F for 3-5 minutes until warm.
Using the oven is better than a microwave. It prevents sogginess and keeps the coating more intact.
When serving a crowd, keep batches warm in a 200°F oven. Place them on a rack over a sheet pan. This method ensures everything is hot and ready to eat at the same time.
| Storage Method | Duration | Reheating Instructions |
|---|---|---|
| Refrigerator | 3-4 days | Oven at 390°F for 3-5 min |
| Freezer | Up to 4 months | Thaw, then oven reheat |
| Keep Warm | Short-term | 200°F oven on a rack |
Conclusion
This approach demonstrates how simple pantry items can yield extraordinary results when handled correctly. With just flour, egg, oil, and proper seasoning, you create a meal that rivals restaurant quality.
The double-dredging method ensures your breading sticks better during frying. Always shake off excess flour between steps for optimal texture. Letting coated pieces rest for several minutes before cooking improves adhesion.
Maintaining oil temperature between 365-375°F is crucial for that golden crust. Cook for 8-10 minutes depending on thickness. Use a wire rack over a baking tray to keep results crisp.
Practice this tried recipe multiple times to build confidence. Customize with garlic powder or other seasonings. Homemade sauces like honey mustard elevate the experience.
You now have all the information needed for success. Apply these techniques to expand your frying skills with other foods.