
Are you searching for a simple morning meal that delivers big flavor without a long prep time? This guide introduces a fantastic solution for your busiest days. You can create a delicious and satisfying start to your day with minimal effort.
This particular recipe proves that a short ingredient list does not mean a compromise on taste. You only need eggs, cheese, tortillas, and butter to get started. The method is straightforward, focusing on quality results from a few simple components.
From your first step to your last bite, the entire process takes less than 25 minutes. It is the perfect choice for those mornings when you are short on time but still want a hot, homemade meal. The final product is packed with protein to help you stay full and focused.
Many people love this style because it reminds them of a popular fast-food favorite. You can enjoy that restaurant-quality taste right in your own kitchen for a much better price. We will show you how to achieve a perfectly crispy exterior and a wonderfully melted interior every single time.
Once you master the basic technique, the possibilities for customization are nearly endless. You can easily adapt this foundation to match your personal preferences or specific dietary requirements. Get ready to make a new family favorite that everyone will request regularly.
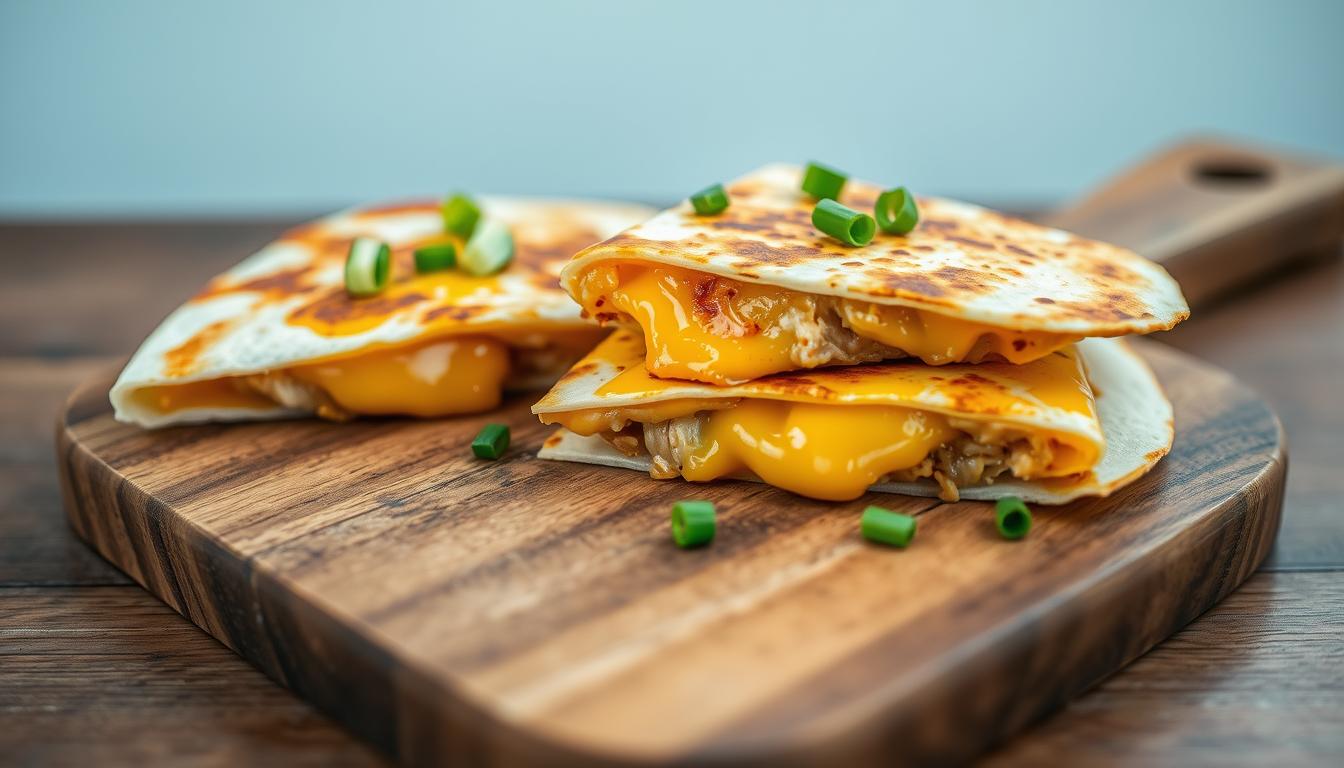
Introduction to Cheesy Breakfast Quesadillas
Have you ever wished you could recreate a favorite fast-food morning treat at home? This recipe brings that popular drive-thru experience right to your kitchen. It proves that incredible flavor does not require a long list of ingredients or complicated steps.
Discovering the Recipe’s Simplicity and Flavor
The inspiration for this dish comes from a well-known restaurant chain’s morning offerings. You can easily replicate that delicious taste with just a few simple items. The combination of fluffy scrambled eggs, crisp bacon, and melty cheddar cheese is a classic for a good reason.
This is a fantastic way to transform your morning routine. You will appreciate how quickly everything comes together. It is perfect for busy weekdays when you need a hearty meal fast.
Whether you are cooking for one or a whole family, this recipe scales beautifully. Making a large batch ahead of time is a smart strategy. You can freeze them for a convenient grab-and-go option any day of the week.
| Feature | Homemade Version | Drive-Thru Version |
|---|---|---|
| Cost | More affordable | Typically more expensive |
| Ingredients | You control the quality | Standardized, often processed |
| Convenience | Ready from freezer in minutes | Requires leaving home |
| Customization | Easy to adjust to your taste | Limited menu options |
Handing your family a warm, homemade meal feels rewarding. It beats a packaged alternative every time. This simple dish delivers satisfaction and energy to start your day right.
Ingredient Spotlight: From Eggs to Cheese
The foundation of any great recipe lies in the quality and purpose of its core components. Each item you select plays a specific role in building the final flavor and texture. Understanding these roles helps you make the best choices for your kitchen.
Essential Ingredients and Their Benefits
Large eggs are the protein powerhouse of this dish. They create a fluffy, satisfying base that keeps you full. Adding a splash of milk to your eggs before scrambling makes them even lighter.
For the best melted cheese, shred your own cheddar. Pre-shredded varieties have coatings that can prevent that perfect, smooth layer. You can also use sliced provolone for an easy, melty alternative.
When choosing bacon, consider a lower sodium type to manage salt content. You can always adjust the seasoning with garlic salt or your favorite spices later. This gives you full control over the final taste.
How Tortillas and Butter Enhance Your Dish
Flour tortillas are ideal for this recipe. They are more pliable and less dry than corn tortillas. This creates a soft wrapper that gets beautifully crispy in the pan.
Butter is a key player here. You use it to cook the eggs, adding richness. Then, you use it again to fry the tortilla, creating a golden, flavorful crust.
Feel free to customize with hot sauce for tang or explore different spice blends. The right ingredients make every bite delicious.
Step-by-Step Cooking Process
Following these clear steps will ensure you create a perfectly cooked meal every time. The process is straightforward but pays attention to key details.
Preparing the Filling and Cooking Bacon
Start by cooking your bacon using your preferred method. An air fryer at 375°F for 10-12 minutes gives crispy results with easy cleanup.
You can also bake it in the oven or fry it in a pan. Drain the cooked bacon on paper towels and cut into bite-sized pieces.
In a mixing bowl, whisk together eggs with milk and seasonings. Cook the scrambled eggs in a skillet over medium-low heat.
Gently push the eggs as they cook to create fluffy curds. Break them into small pieces for even distribution in your final dish.

| Method | Time | Cleanup | Results |
|---|---|---|---|
| Air Fryer | 10-12 minutes | Minimal | Very crispy |
| Oven Baking | 15-20 minutes | Easy | Evenly cooked |
| Skillet Frying | 8-10 minutes | Moderate | Traditional crisp |
Assembling Your Quesadilla with Confidence
Lay one flour tortilla flat and add a thin layer of cheese. This acts as glue when melted. Top with half of your scrambled eggs and bacon pieces.
Add another cheese layer before closing with a second tortilla. Cook in a skillet sprayed with cooking spray over medium heat.
Flip once the bottom browns lightly. Continue cooking until both sides achieve that perfect crispy texture. The entire process takes just minutes.
Mastering Cheesy Breakfast Quesadillas
With practice and attention to detail, you can consistently create morning tortillas that rival any professional kitchen’s offerings. The key lies in understanding how simple techniques work together for perfect results every time.
Heat control is your most important tool. Maintain medium heat throughout cooking to achieve that golden-brown exterior without burning. This ensures even cooking from edge to center.
Pay close attention to your filling distribution. Use thin, even layers of cheese rather than thick clumps. This promotes uniform melting and binds all ingredients together properly.
Timing determines your final texture. Watch for the right moment to flip—when the bottom develops light browning. Remove from heat when both sides reach that perfect crispness.
| Technique | Common Mistake | Optimal Approach |
|---|---|---|
| Heat Management | Too high, causing burning | Consistent medium heat |
| Cheese Distribution | Thick clumps in center | Thin, even layers throughout |
| Flipping Timing | Too early or too late | When bottom is golden brown |
| Filling Amount | Overstuffing | Moderate, spread evenly |
After making this dish a few times, the assembly process becomes second nature. You’ll develop confidence in your technique and can easily adapt the basic recipe to create endless variations.
This approach brings together everything from ingredient selection to cooking methods. Mastering this one recipe opens up countless possibilities for personalized morning meals.
Quick Tips for Perfect Scrambled Eggs
Many home cooks overlook the simple techniques that transform ordinary eggs into a fluffy delight. Mastering these steps ensures your filling has the ideal texture every time.
Achieving the Ideal Fluffy Texture
Start by whisking your eggs in a bowl with a liquid like milk. This addition creates steam during cooking, which leads to a lighter result. You can also use half-and-half or water for a similar effect.
Always season the mixture in the bowl before it hits the heat. This allows the salt and pepper to distribute evenly, enhancing the overall flavor of the finished eggs.
Heat a pat of butter in a non-stick skillet over medium-high heat. Wait until the butter melts and begins to foam. This signals the pan is perfectly preheated.
Pour the egg mixture into the hot skillet. Use a wooden spoon to stir slowly and gently. This motion encourages the formation of soft, large curds rather than small, tough pieces.
For the best texture in your final dish, break the cooked scrambled eggs into very small pieces. This step makes the filling easier to manage and ensures a consistent bite.
Remove the eggs from the heat just before they look fully set. They will continue to cook from the residual heat, preventing a dry or rubbery outcome.
Calibration of Your Skillet and Cooking Techniques
Mastering your stove’s heat settings is crucial for achieving consistent results with any recipe. Different burners and pans respond uniquely to temperature changes.
Understanding your specific equipment helps prevent undercooking or burning. This knowledge transforms your cooking experience from guesswork to precision.
Understanding Medium Heat for Even Cooking
Medium heat means different things on various stoves. Calibrating your specific skillet and burner combination ensures reliable outcomes every time.
For scrambled eggs, use medium-low heat. This gentle approach prevents browning while creating soft, fluffy curds perfect for your filling.

When cooking the assembled dish, increase to medium heat. This temperature crisps the tortilla and melts cheese without burning the exterior.
Flip your creation once the bottom shows light browning. This typically takes 2-3 minutes depending on your heat level and pan type.
| Heat Setting | Ideal Use | Cooking Time | Result |
|---|---|---|---|
| Medium-Low | Scrambled eggs | 3-4 minutes | Soft, fluffy texture |
| Medium | Final cooking | 2-3 minutes per side | Golden brown, crispy |
| Too High | Not recommended | Under 2 minutes | Burnt exterior |
A cast iron skillet works excellently because it distributes heat evenly. Non-stick pans also produce good results when used correctly.
Your skillet reaches ideal medium heat when butter melts and foams without immediate browning. Watch for this visual cue to gauge temperature accurately.
Understanding hot spots helps position your dish for even cooking. Rotate it during cooking if your burner heats unevenly.
The total preparation time remains around 25 minutes. Proper heat management ensures perfect results within this timeframe.
Variations and Customizations to Elevate Your Breakfast
The beauty of this simple recipe lies in its adaptability to various dietary needs and flavor profiles. You can easily modify the ingredients to create different versions that suit your preferences.
Alternative Proteins and Veggie Add-ins
Swap bacon for breakfast sausage to create a different savory experience. Crumble the sausage after cooking for even distribution throughout your morning meal.
For a leaner protein option, try diced grilled chicken breast. This integrates well with eggs and cheese while reducing fat content.
Vegetarian versions work beautifully by loading up on sautéed vegetables. Bell peppers and onions add sweet crunch and aromatic depth. Mushrooms and black beans provide hearty texture.
Adjusting for Low-Carb and Dietary Preferences
Reduce carbohydrates by using one flour tortilla instead of two. Fold it over the fillings to create a half-moon shape that maintains all the flavor.
Experiment with different cheese varieties beyond cheddar. Pepper jack adds spice, while colby jack offers mild creaminess. Any melting cheese works well in these creations.
| Dietary Need | Protein Swap | Vegetable Additions | Cheese Alternatives |
|---|---|---|---|
| Lower Fat | Grilled chicken | Bell peppers, mushrooms | Part-skim mozzarella |
| Vegetarian | Black beans | Onions, tomatoes, peppers | Any melting cheese |
| Lower Carb | Ham or sausage | Spinach, mushrooms | Pepper jack, Swiss |
| Spicy Preference | Spicy sausage | Jalapeños, onions | Pepper jack cheese |
Leftover steak transforms this into a hearty steak and eggs version. Ham provides a sweeter alternative to bacon. The possibilities are nearly endless for personalizing your morning tortilla creation.
Serving Suggestions and Meal Prep Strategies
Beyond the cooking process, serving suggestions and storage techniques maximize both flavor and efficiency. These strategies help you enjoy your creation at its best while saving valuable morning time.
Accompaniments to Complement Your Quesadillas
Elevate your meal with classic Mexican-inspired toppings. Fresh tomato salsa adds bright acidity that cuts through rich flavors. Cool sour cream provides a creamy contrast.
Consider these delicious options for your table:
- Diced tomatoes and chopped green onions
- Cilantro for fresh herbal notes
- Taco sauce or fresh pico de gallo
These toppings let you customize each bite to your mood. They transform a simple dish into a complete culinary experience.
Freezer-Friendly Tips for Make-Ahead Meals
This recipe offers excellent make-ahead options. Prepare your quesadillas and wrap them in foil. They keep well in the refrigerator for 2-3 days.
For longer storage, freeze them for up to 6 months. Allow complete cooling before wrapping in aluminum foil. This prevents freezer burn.
Reheating takes just minutes. Use a frying pan to restore crispiness. An air fryer or oven works well for frozen versions.
While fresh preparation takes less than 10 minutes, having frozen options saves busy mornings. The convenience makes meal prep worthwhile for time-strapped families.
Conclusion
This recipe delivers both convenience and nutrition in one delicious package. You now have everything needed to create morning meals that rival restaurant quality at home.
Each serving provides approximately 359-371 calories with 18-20g of protein to keep you satisfied. The 24-25g of fat contributes to flavor and fullness. Carbohydrates stay moderate at 16g per serving.
You’ll appreciate the nutritional balance. With just 1g of fiber and 2g of sugar, this option compares favorably to many commercial breakfasts. The saturated fat content of 11-13g comes mainly from cheese and butter.
This post has shown you the complete process from start to finish. The way this dish combines simplicity with customization makes it ideal for any morning. Using just 1 tablespoon of hot sauce and 1 tablespoon of butter creates maximum flavor.
You can adapt this foundation endlessly to suit your preferences. Enjoy creating your perfect version of this versatile recipe.